Mockup Background Colors
Mockup Background Colors
We are excited to introduce a new feature in Smartmockups to help you create even more realistic mockups - the background image editor. Every background image uploaded from Unsplash or your computer can now be edited using the background image editor for stunning results!
If you've been struggling to find the perfect background image for your mockup, you're going to love our newest feature. Not only will this improvement let you fully customize the size and position of the image, it'll also help you use additional features such as color overlay, blur, or saturation to make your mockup background look amazing!
What will you learn?
- What is the improvement?
- How to upload a background image and use the background image editor
1. What is the improvement?
The background image editor enables you to fully edit the background image you want to upload to the mockup scene. This might be especially handy in situations where you need to create a realistic mockup of an item placed on some kind of surface (table, wardrobe, bed, the ground, etc.). With the editor, you can choose from thousands of stock images, edit their size, position, alignment, saturation, blur, overlay color and create, as an example, a super-realistic mockup of a smartphone that is laying on a table.
Note: This feature is available for Smartmockups PRO.
Background image editor
The background image editor is a tool for customizing a background image. You are able to change the alignment, size, and position of the image and drag it around to the exact location that visually fits the mockup. Additionally, to make the mockup scene look even more slick, or in keeping with your brand, you can add blur, change the saturation, or add an overlay color to the background image.
2. How to upload a background image and use the background image editor
There are two ways to upload an image to a background. Smartmockups helps you do this using a third-party integration called Unsplash. If you aren't familiar with Unsplash, it is a platform for sharing stock photography under the Unsplash license. All images shared on Unsplash can be downloaded for free and can be used in any project of your choice. The library of images is enormous and full of beautiful high-quality images that are shared by talented photographers from around the globe.
The second way to upload an image to a background is by uploading an image from your computer. Once you have chosen where you want to upload your image from, you will access the background image editor. Now you can move on to our step-by-step guide to learn how to edit your image.
Step-by-step guide
We're going to teach you how to upload an image to a background and edit it using the background image editor with this step-by-step guide. The screencasts will show you exactly what you need to do to get started.
STEP 1: Create a mockup
First things first, create your mockup by uploading a design asset to the mockup scene. Then move to the customization tab for the next step.
STEP 2: Click on background image upload to access the editor
In the side panel, click on the customize tab and look for the background section. In the background section, click on image background upload to choose where you want to upload your image from; either from the Unsplash library or your computer.
Once you have chosen the place you want to upload an image from, the background image editor will appear. In this example, it appears immediately as we are uploading an image from our computer. If you choose to upload a background image from Unsplash, you'll be able to use the search tab to look for the image you want to use. To choose the background image, click on it and then choose Continue to proceed to the next step.
STEP 3: Adjust the background image
Ready for a little magic? Drag the background image around and zoom it in & out to make it perfectly fit the mockup scene. In this example, we want to make the smartphone mockup look as if it's on a table. Take your time and play around with the image until you are satisfied with the final result. But the fun doesn't end here. You can also blur the background image to add depth of field, add saturation, or an overlay color to create a realistic product presentation of your app, website, flyer, mug design, etc.
STEP 4: Download your mockup
Confirm the background image upload settings by choosing the Choose button and then download your mockup. Changed your mind about the mockup? No worries! If you aren't happy with the final background, simply go back for a re-edit at any time. Just click on background image upload again, choose the edit button and return back to the editor to make additional changes.
Congratulations on your latest mockup creation! If you'd like some design inspiration, check out these examples.
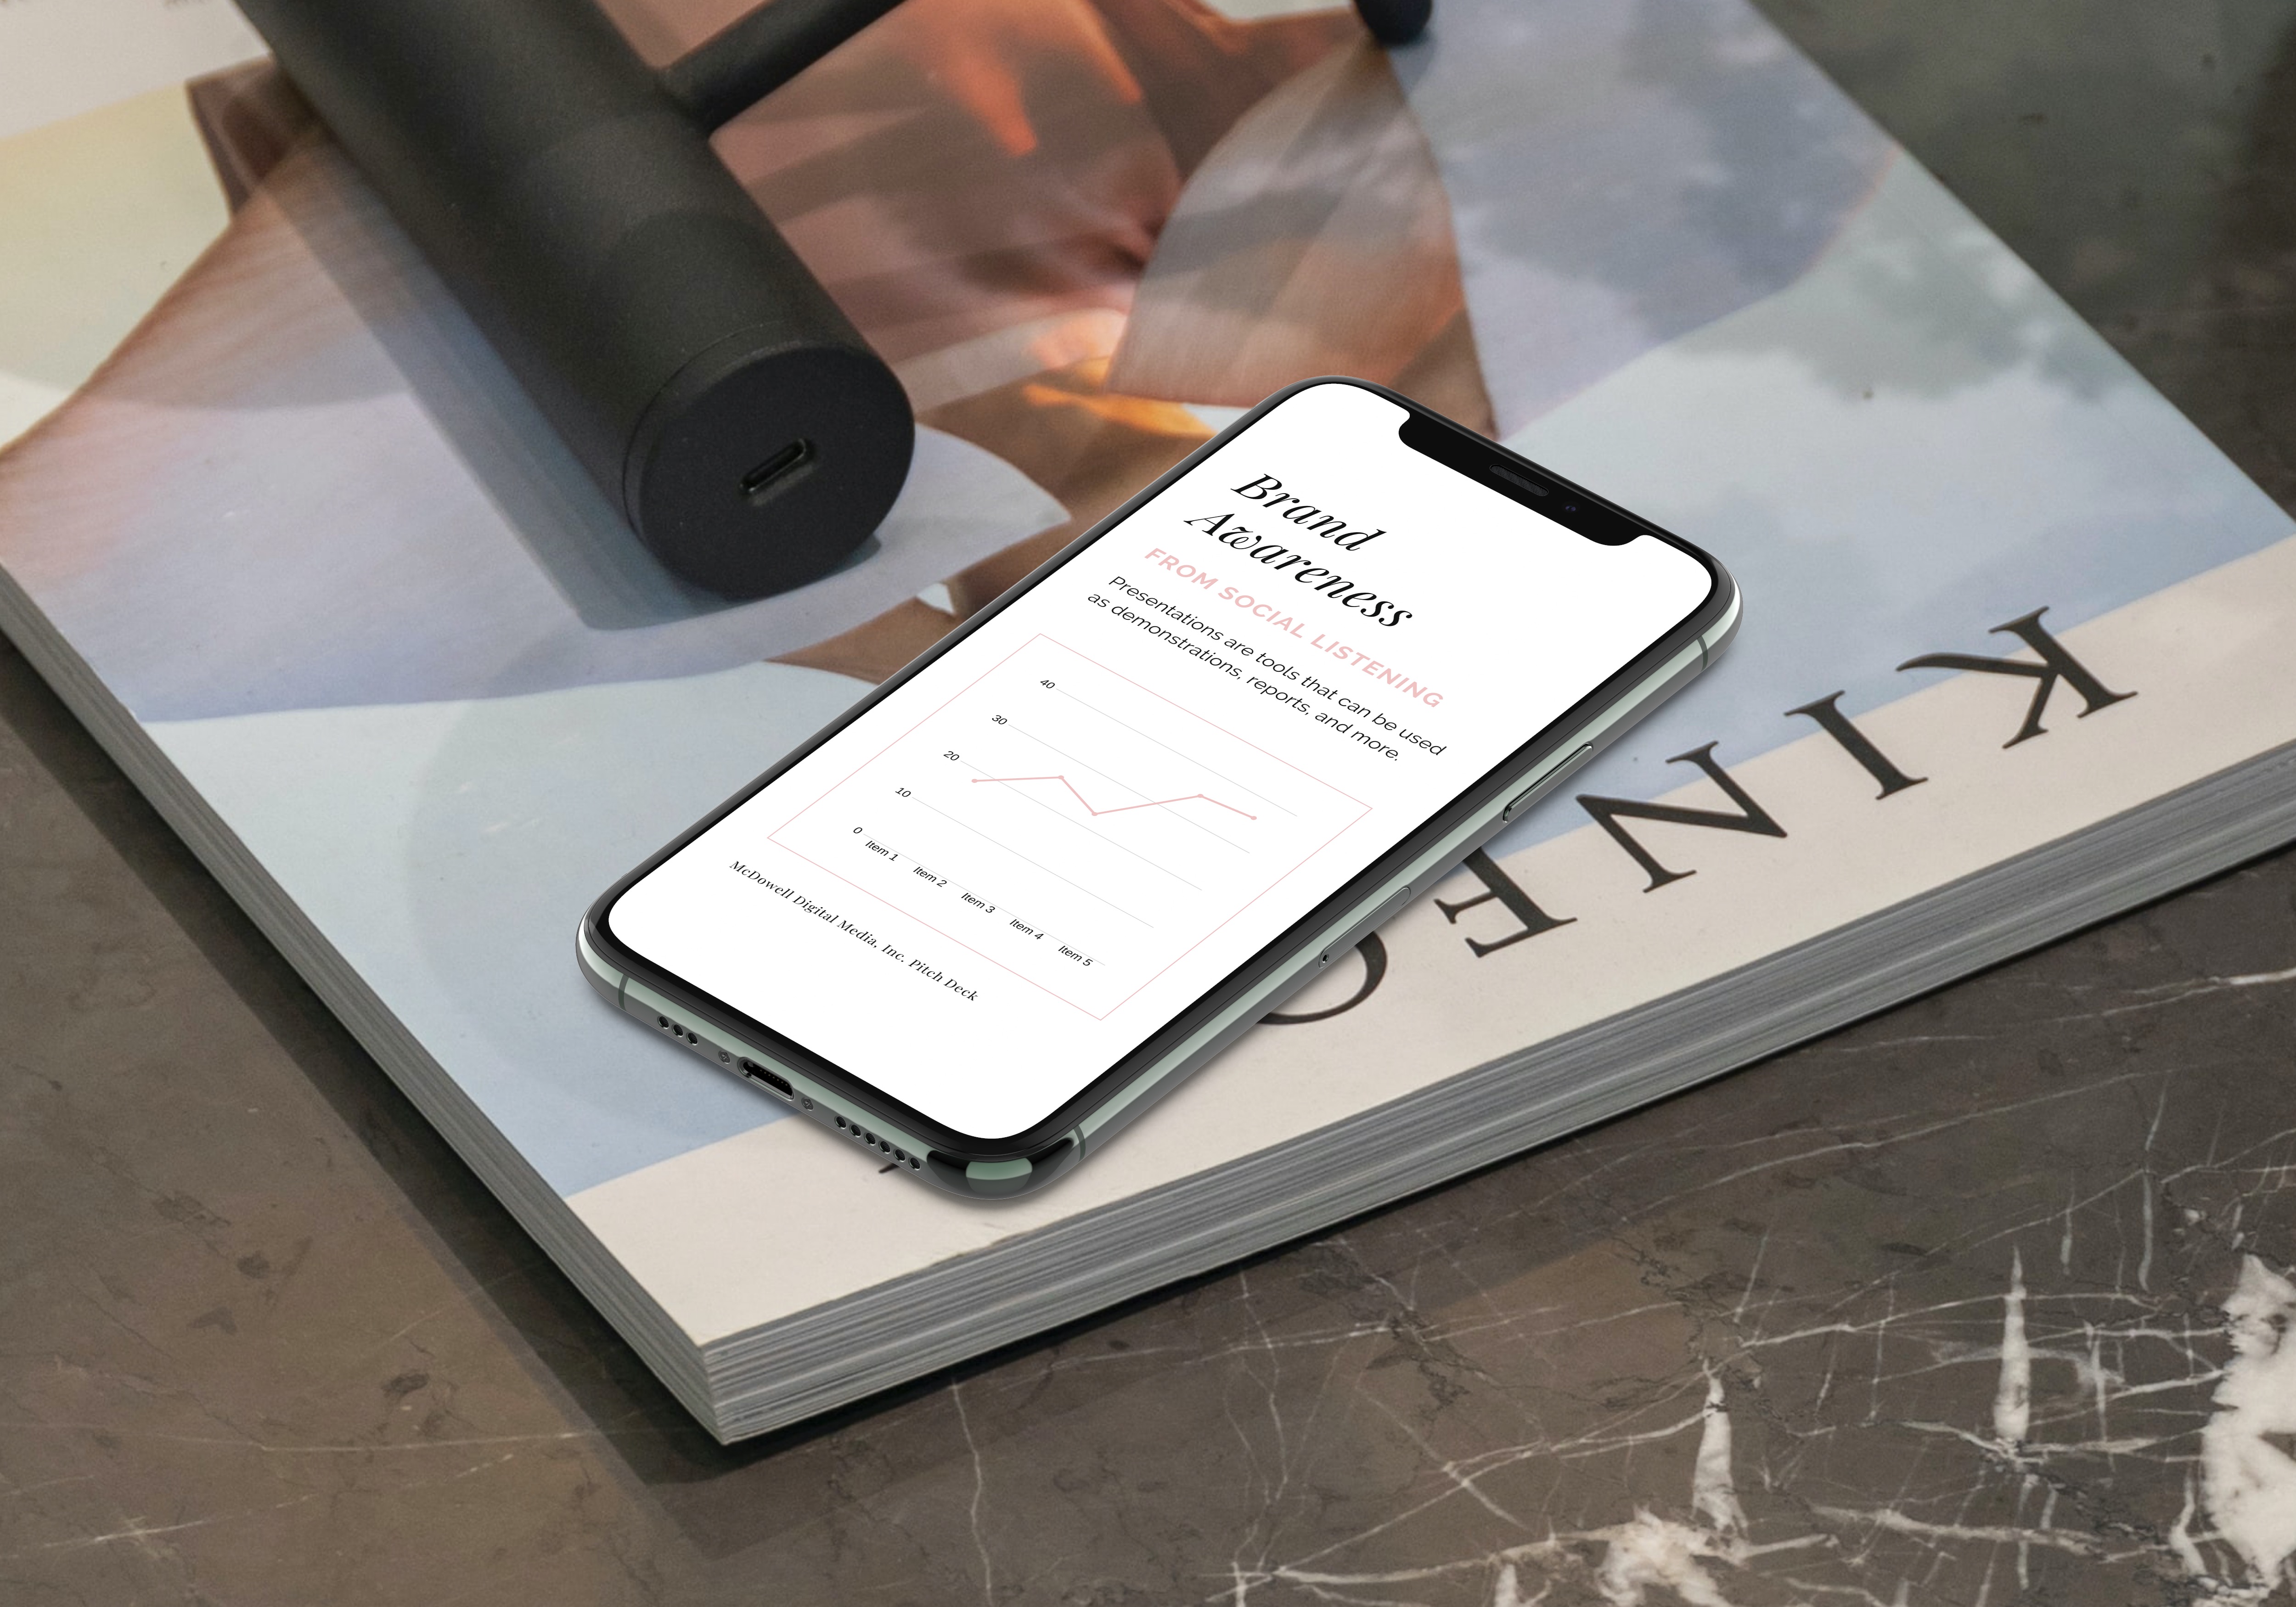
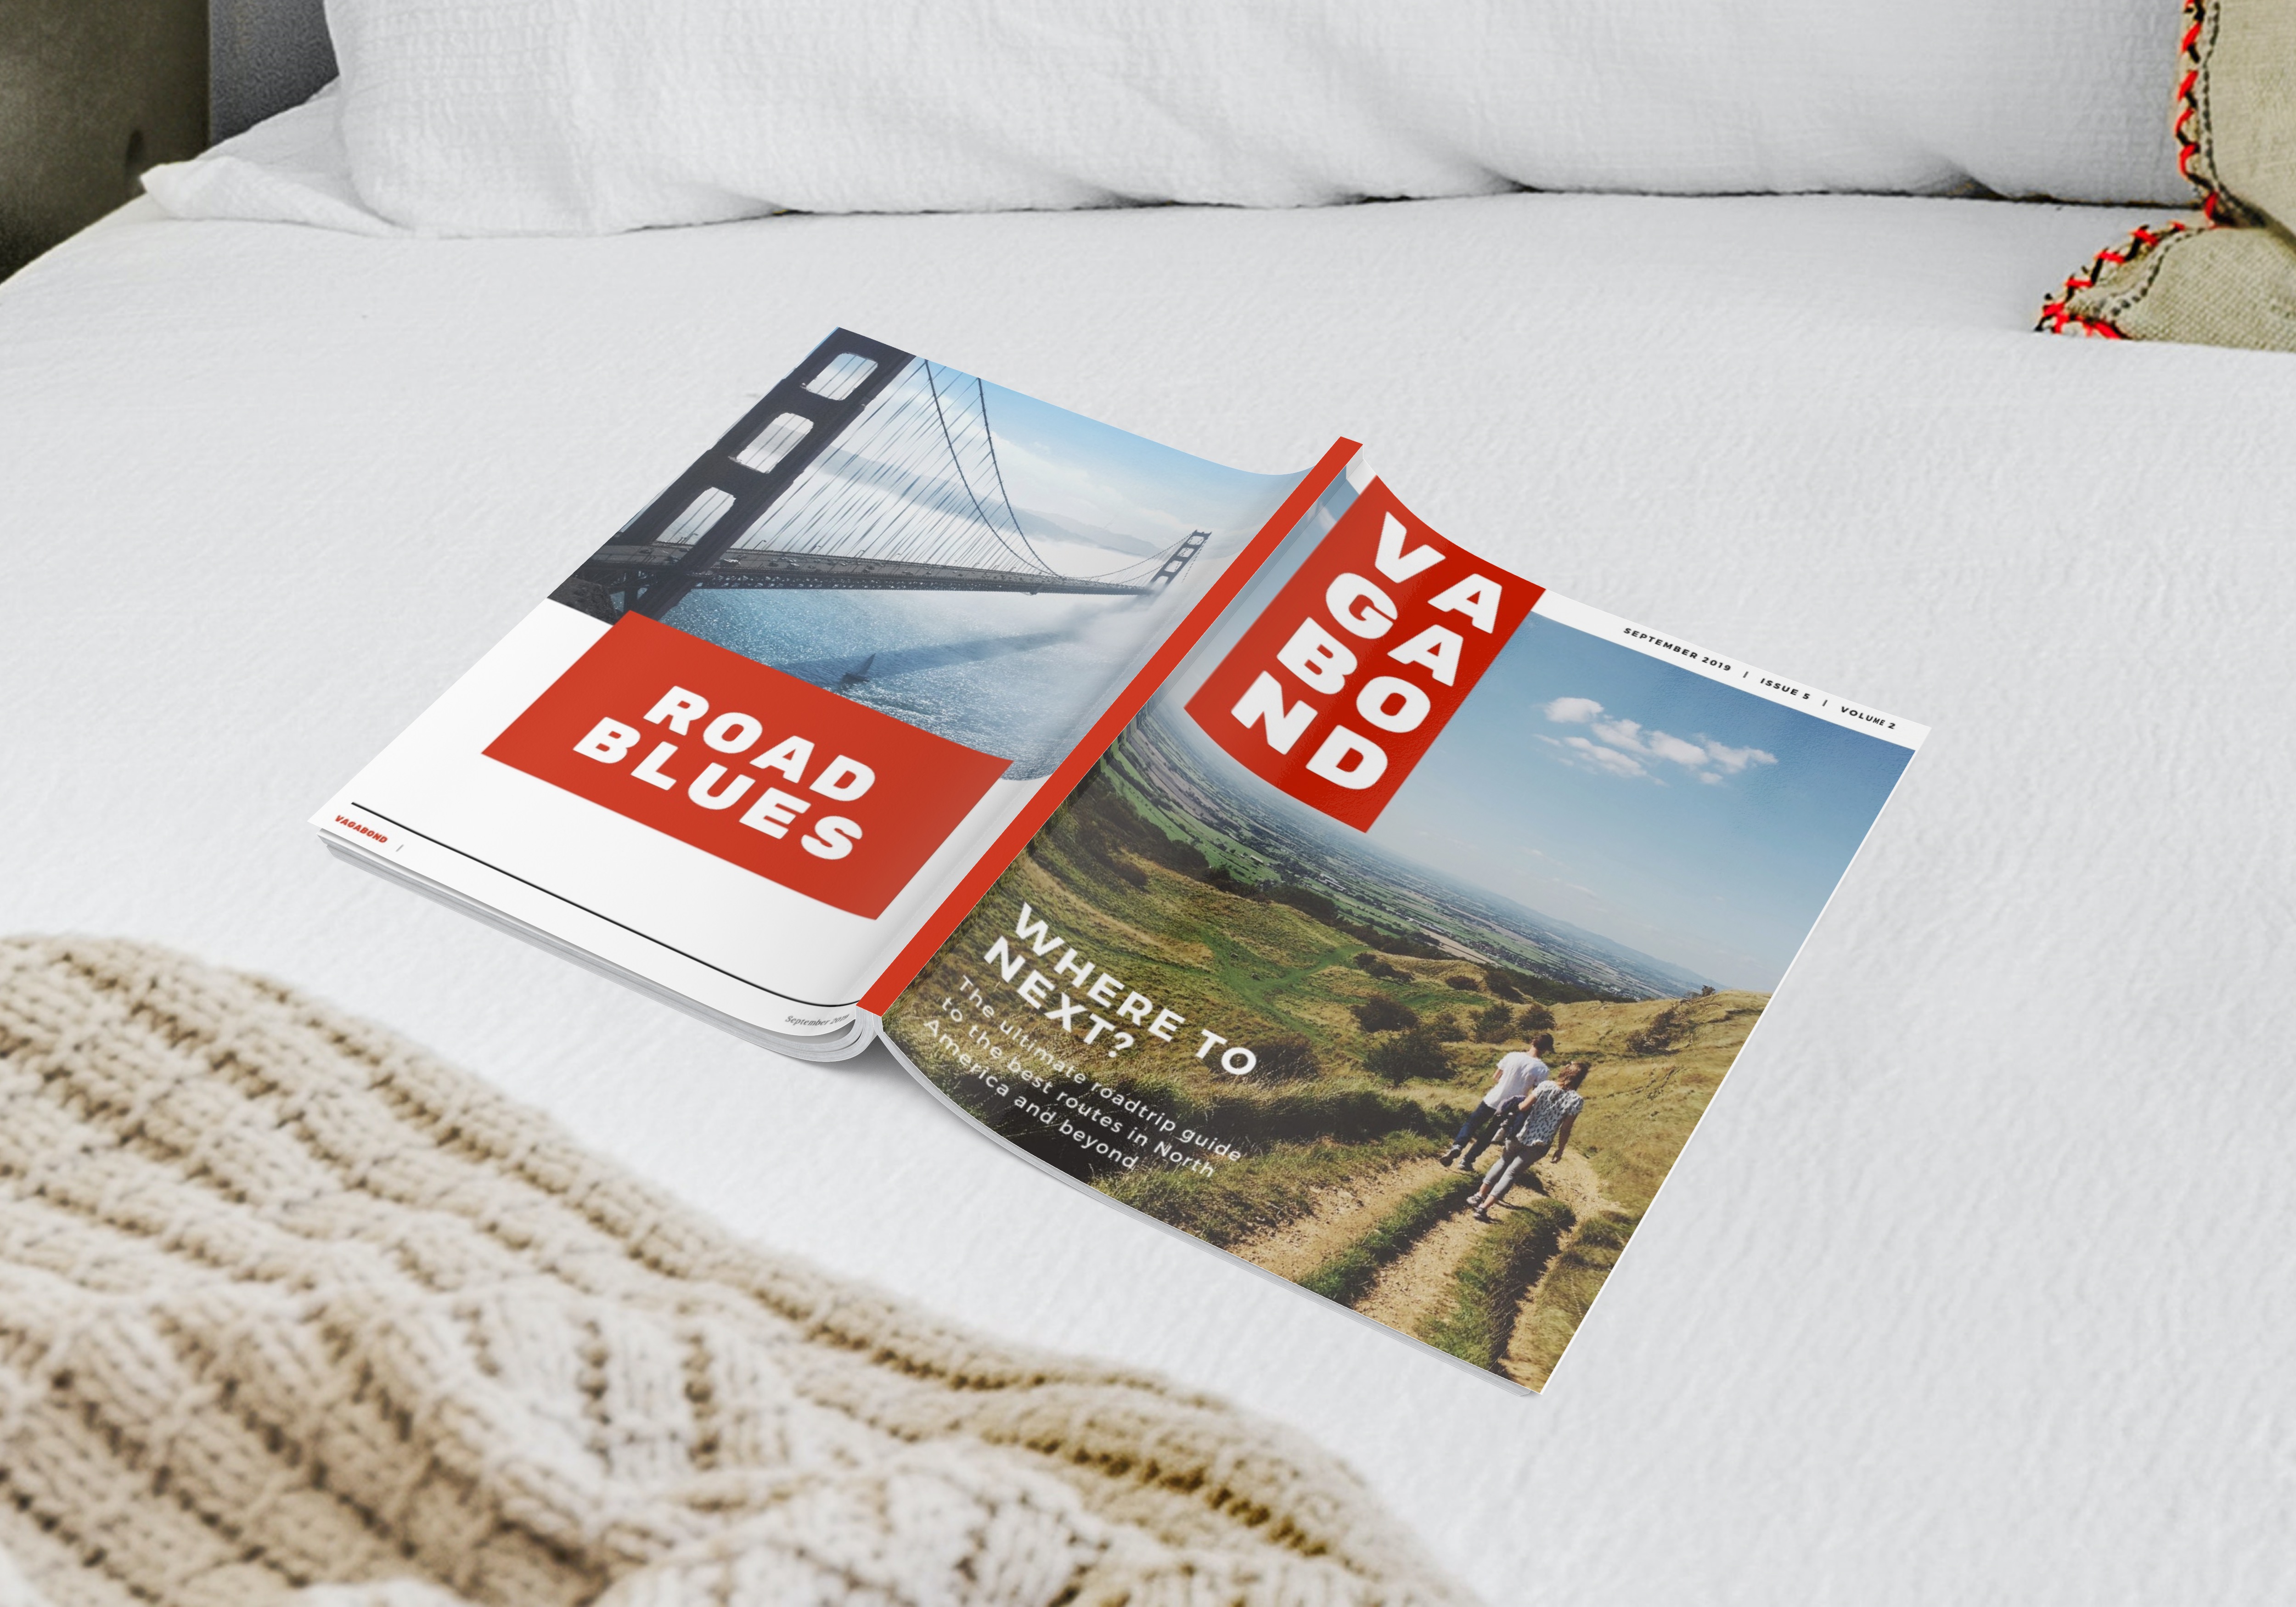
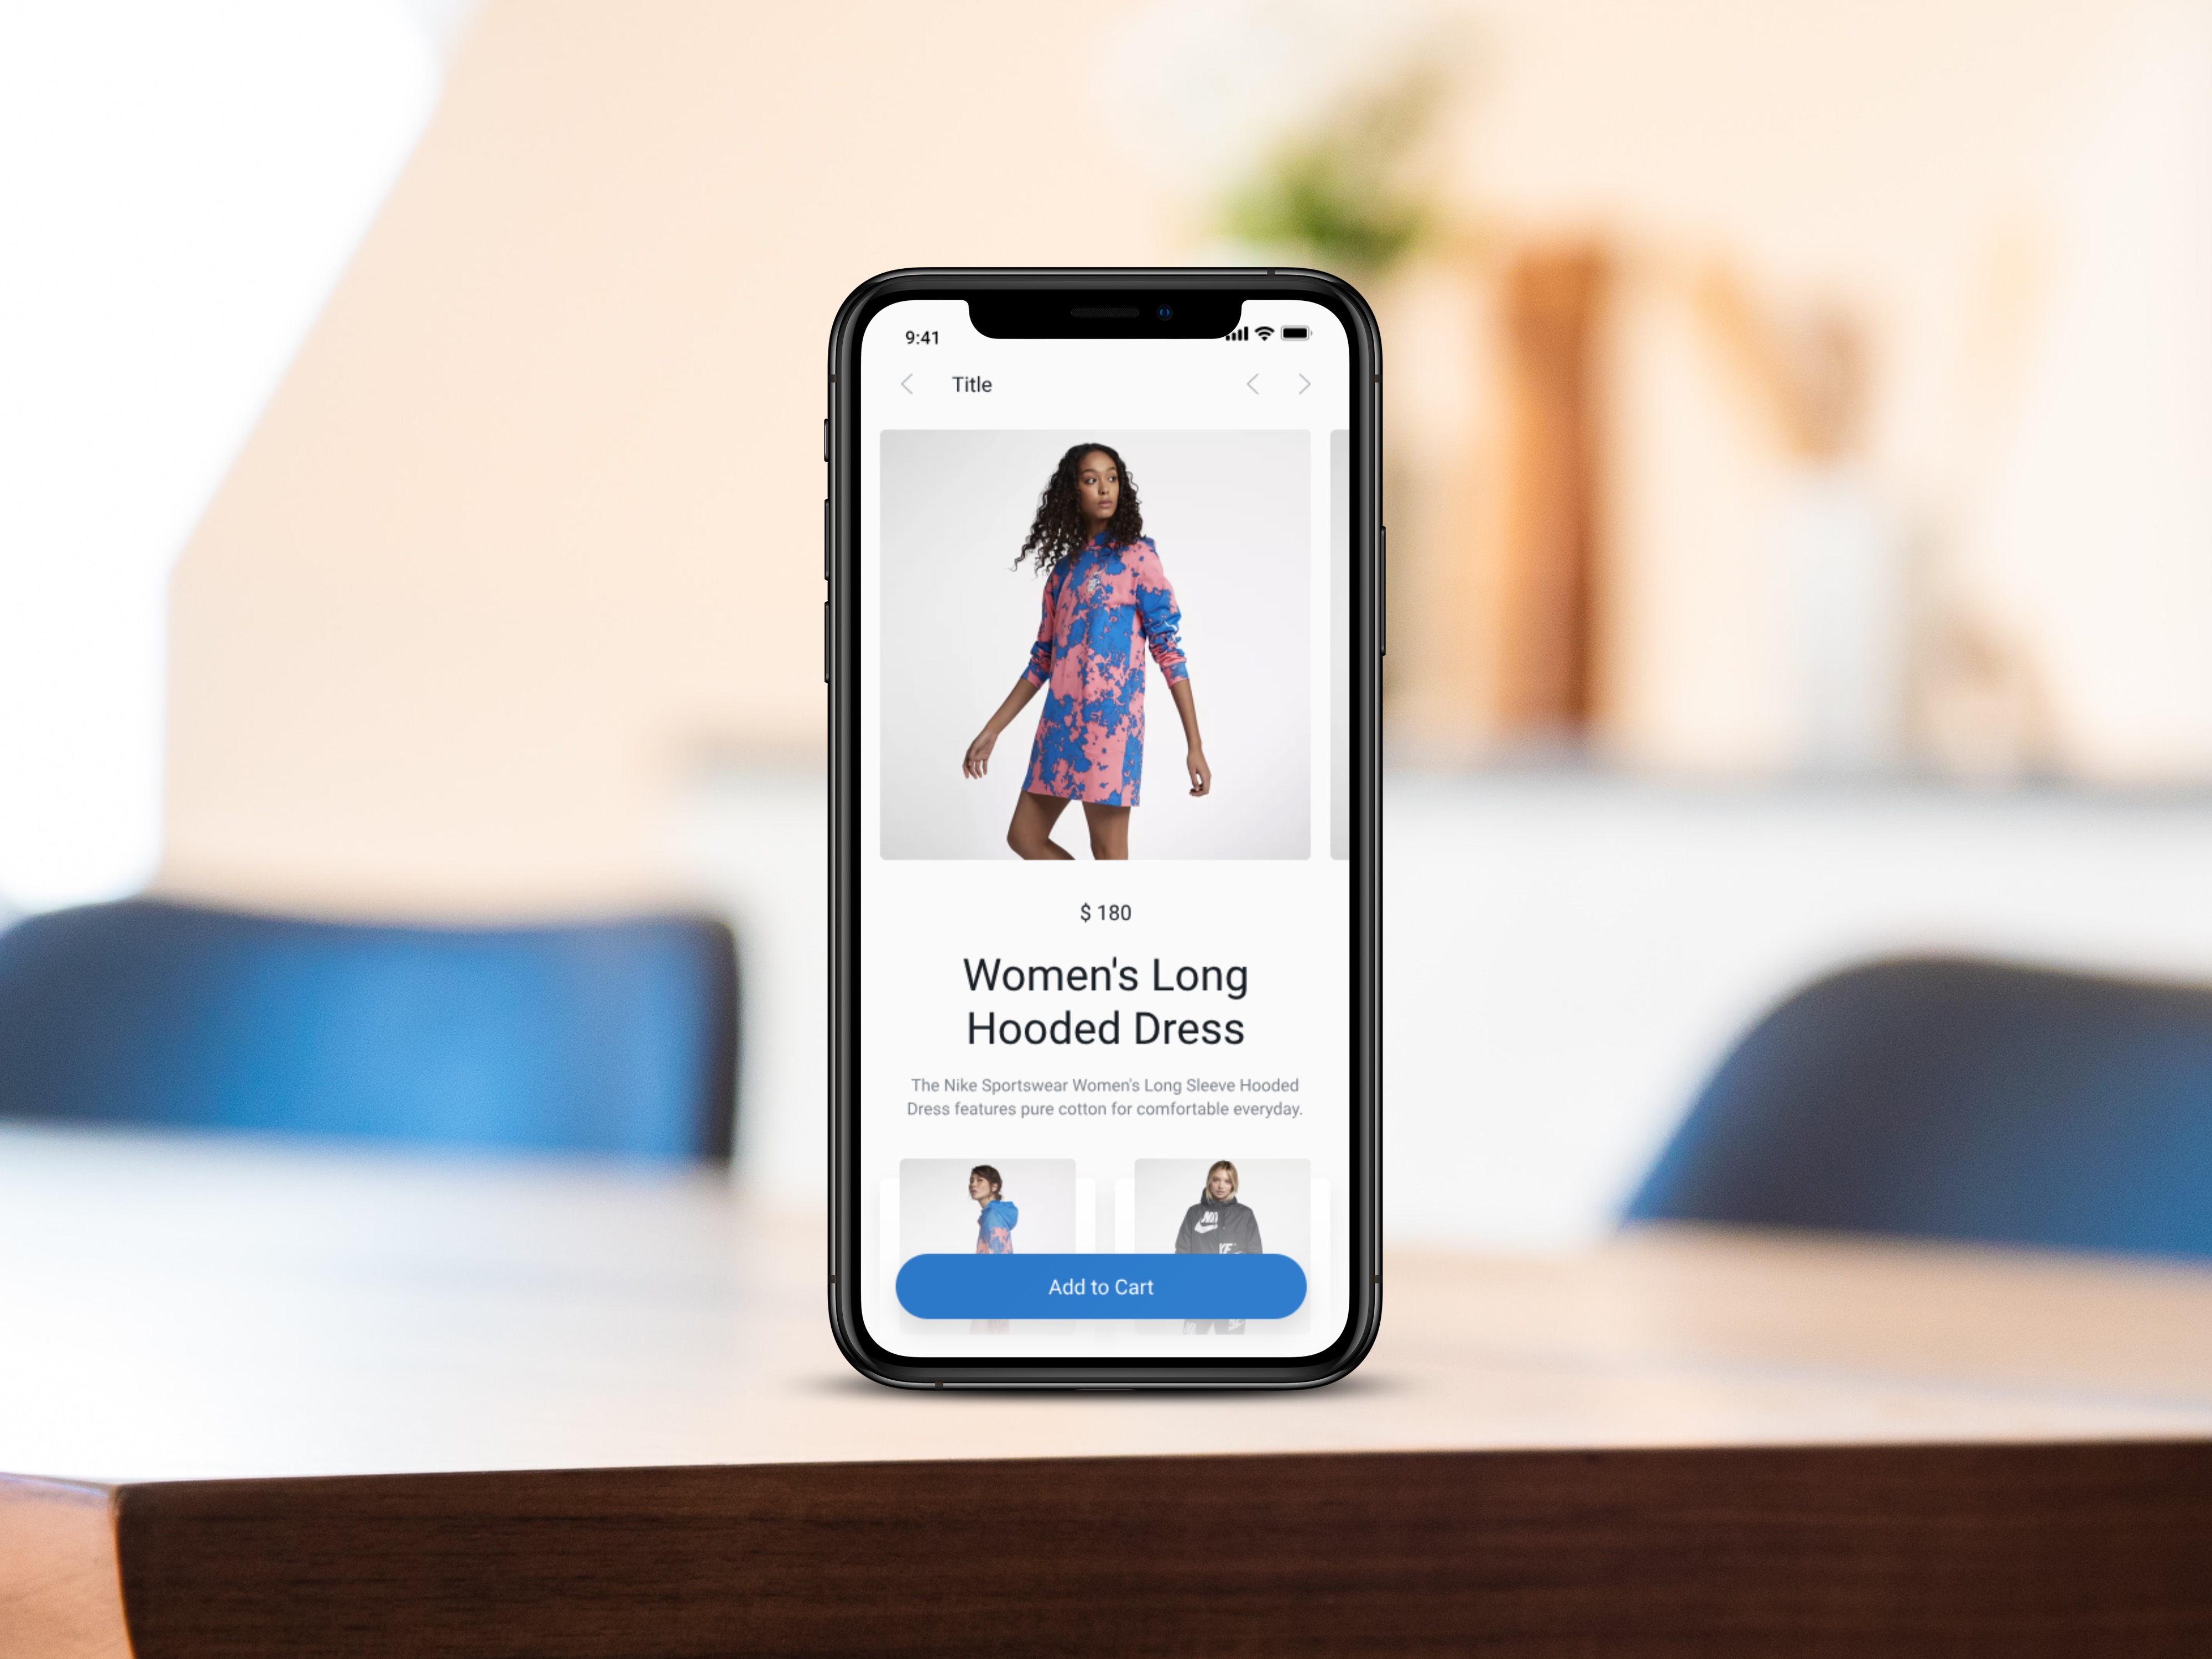
Final results
💪 Create more realistic mockups
Put our background image upload to work for you! Create even cooler product mockups for your online stores, social media posts, or design portfolios.
🙏 Show us your mockups and follow us on our social media channels!
We love to see how people are creating with Smartmockups! Tag us on Instagram, Twitter, and Facebook using #madewithsmartmockups and we may feature your work. Be sure to follow us to stay up to date with new mockups and features.
Source: https://blog.smartmockups.com/article/how-to-get-the-perfect-background-for-a-mockup


Komentar
Posting Komentar